How to Use a Six-Digit Email Code for Supabase Signup and Sign-In
Set up Resend and use AI prompts to add email codes to your existing Next.js app.
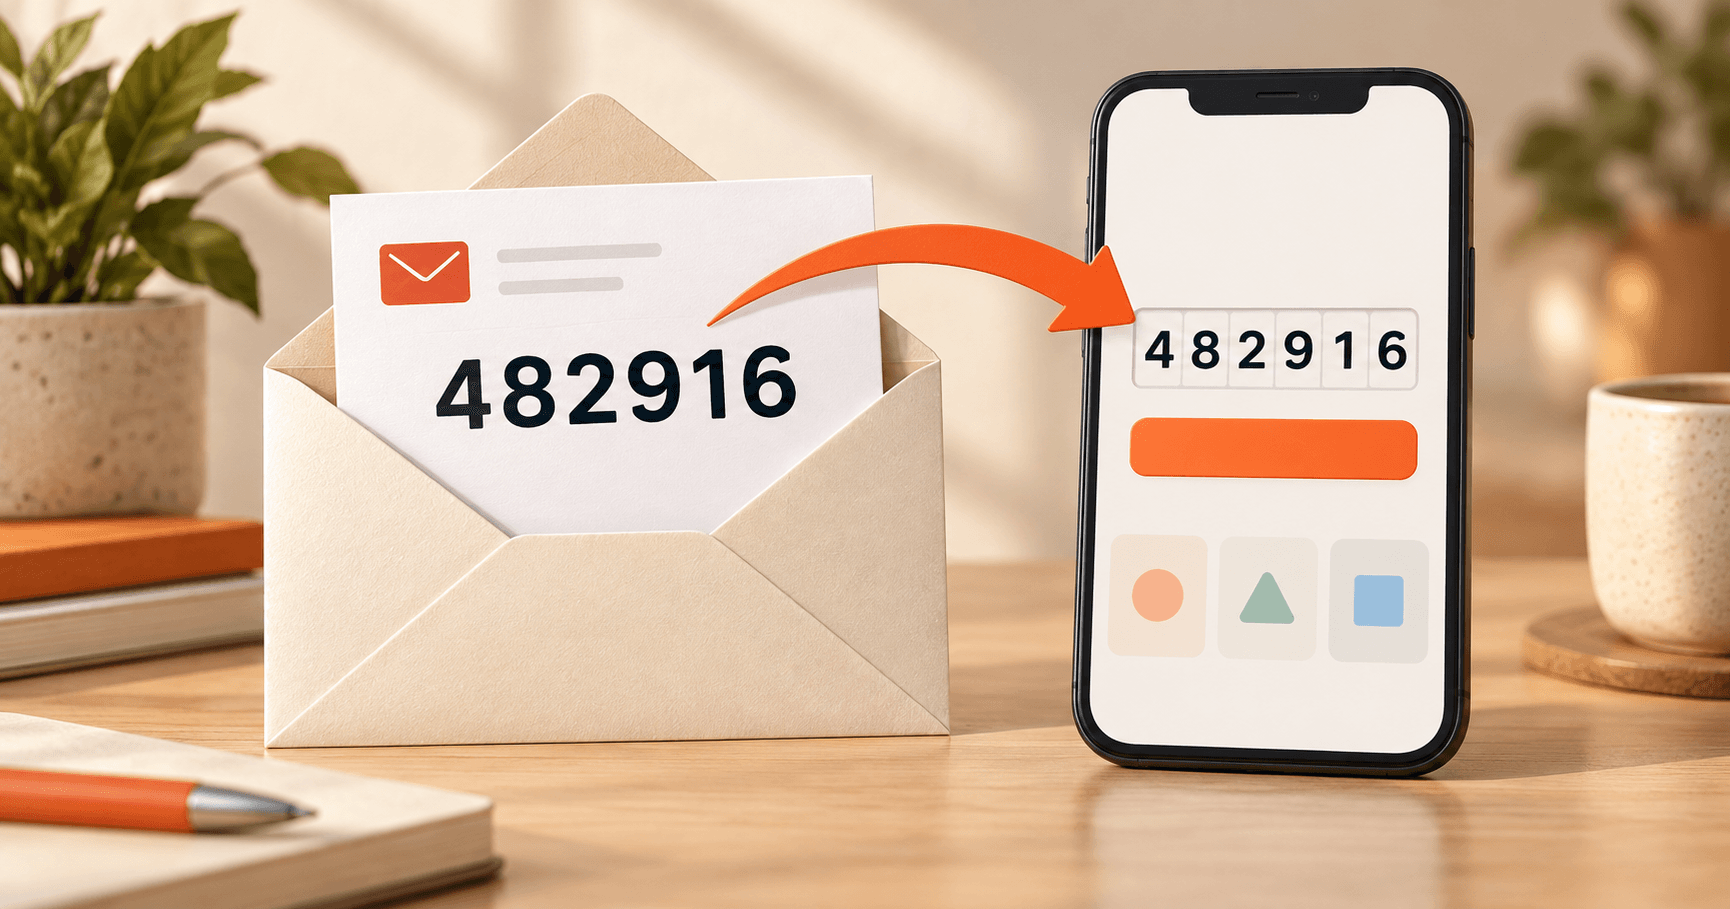
For a small app, I want a few ways to sign up, each easy to use. Google sign-in and an email option give people distinct choices. For email, pick one flow. I prefer a six-digit code here; I wouldn't put passwords, email links, and codes beside each other as three email choices.
Enter your email, get six digits, and type or paste them into the app. If your phone's notification preview shows the code, you may not even need to open the email.
I use six-digit email codes for signup and sign-in in Doogle, my dog-training app (opens in a new tab).
I like keeping people in the app they started in. On mobile, a sign-in link can open in the email app's browser, leaving them to find their way back. A code lets them return to the original screen and finish there.
Passwords give people another thing to remember. They can forget them or reuse one, and password resets add another flow for you to build, maintain, and test. That's why I prefer a code for the email option in this kind of app. Google sign-in can sit alongside it.
We'll use Resend (opens in a new tab), a service that sends emails for your app, to deliver the code. Supabase will create and check it. You don't need to know it already. We'll start with its account setup, let your AI handle the connected services, then build the screens and retry options.
Before you start
Your app should already recognize accounts and keep people signed in after a page reload. The prerequisite above covers that foundation.
Build the code flow in your app's local or test version. Keep existing login methods working during that change. For the finished screen, choose a few easy, distinct methods, such as Google sign-in and email codes. Use one email flow so people don't have to choose between several ways to do the same job.
First, create a Resend account (opens in a new tab) or sign in to one you already have. Complete any email verification it asks for and open the dashboard. Resend is the delivery service, not a new inbox you need to check. The code emails will arrive in your users' existing inboxes.
Your AI can do more than build the screens. With connected tools or browser access, it can also set up the sender and Supabase's email settings. You handle signing in and approving access. It should then do the setup that access allows.
Have these ready:
- Your existing Next.js app and its Supabase project.
- Your Resend dashboard, signed in to the account you want this app to use.
- A domain you own, plus access to the settings that control its email and website records.
- An email address you can use for testing, including one that doesn't already have an account in your app.
- Your AI coding tool, opened in the existing app.
This prompt checks which app, accounts, and tools your AI can use. It identifies missing access before setup begins and leaves email settings unchanged:
Step 01Verify your sending domain in Resend
If your website is yourapp.com, use code.yourapp.com as the sending domain. The full sender address can be login@code.yourapp.com. Enter just code.yourapp.com in Resend's domain field; use the full address for the sender email.
That separate part of your domain, code.yourapp.com, is called a subdomain. I recommend it to keep these signup emails separate from other email you send. Your website can stay exactly where it is. Resend also recommends a subdomain (opens in a new tab) to separate different kinds of email.
Resend needs to confirm that you control the domain your emails will come from. The records that let Resend send mail for your domain live in your domain settings. They're called DNS records. You usually manage them where you bought the domain, unless you've moved that job to another provider.
Your AI can follow Resend's domain setup (opens in a new tab) to add the sending domain, read its required records, and check verification. Adding the records themselves also needs access to your domain provider. Resend supports connected AI tools, and its Cloudflare connection (opens in a new tab) can add records after you authorize it.
This prompt gives your AI the sending-domain setup: add the domain, add its required records, and check verification. Give it your chosen domain and sender address so it can work on the right setup:
If you need to finish in the dashboard
Use the records generated for your domain. Some providers add yourapp.com to names automatically, so check that it does not appear twice. Resend's domain setup instructions (opens in a new tab) cover its supported domain providers.
A setting called DMARC controls how mail using your domain is treated. Check its existing policy against Resend's DMARC guidance (opens in a new tab) before changing it. You don't need incoming mail in Resend for this setup. Following Resend's login-email advice (opens in a new tab), keep open and click tracking off for these account emails.
- Open Domains in Resend and choose Add Domain if your sending domain is not already there.
- Enter the sending domain, such as code.yourapp.com, and choose a region near your recipients.
- Add the records Resend supplies to your domain provider, preserving the records for existing email services.
- Return to Resend, start verification, and continue when the domain says Verified.
Step 02Connect Resend to Supabase
Supabase will create and check the codes. Resend will deliver the emails. The connection between them uses an email-delivery setting called SMTP. Its mail server address is the Host value you'll check after setup.
Create a private key for the connection between Resend and Supabase. Resend calls these API Keys. Follow Resend's key setup (opens in a new tab) to give the delivery key Sending access, restricted to your verified domain. Your AI can create it through an authorized connection and save it into Supabase if its tools support handling credentials privately.
This key works like a private password for the email connection. Keep it out of chat and your app's browser code. If your AI's tools cannot transfer it privately, enter it directly in Supabase yourself.
This prompt connects your verified Resend sender to Supabase so Supabase can send your code emails. It saves the delivery settings and checks them while keeping the private key hidden:
Check the sender and connection
To manage signup and sign-in in your Supabase project, open Authentication, then Email under Notifications, and choose SMTP Settings. Check that custom SMTP is enabled and the saved sender uses your verified domain.
The delivery key is different from the access your AI uses to manage your accounts. A key limited to sending email cannot configure domains. If you need to create that key yourself, use API Keys in Resend, choose Sending access, and restrict it to your sending domain.
You can use this connection with hosted Supabase. As Supabase's custom SMTP guide (opens in a new tab) explains, its built-in email sender is intended for limited testing. Custom delivery lets you send to your app's users. Check your current Supabase sending limits (opens in a new tab) and Resend account limits (opens in a new tab) before testing.
These field examples come from Resend's Supabase setup instructions (opens in a new tab). Use your app's values, then compare the saved connection with the table below.
Step 03Put a six-digit code in the email
Supabase can send a sign-in link or a code. Its passwordless email setup (opens in a new tab) uses the same email request for both; the email template determines what the person receives. Email codes may appear as OTP, short for one-time password, in the settings.
In Supabase's email templates (opens in a new tab), check both Confirm sign up and Magic link or OTP. A new or unconfirmed account can receive the signup email, while a returning confirmed account receives the magic-link email. You can see that split in Supabase's email-flow implementation (opens in a new tab). Updating only the returning-user template can leave signup sending the old message.
This prompt updates the emails new and returning users receive so both can contain the code. It checks the code length and timing, then shows an example of the saved email before a real send:
What the code email should look like
The saved template needs a clear instruction to enter the code in your app, followed by this exact placeholder:
{{ .Token }}Supabase replaces this template placeholder (opens in a new tab) with the person's code when sending the email. Keep the spaces, braces, dot, and capital T as shown. The actual code should appear in the received email, not the placeholder.
Before removing an existing link, check whether another login option still uses that template. Password signup may share the confirmation email. Add the code without breaking that existing path, and leave email confirmation enabled.
The example below shows the placeholder becoming a code. Your email can use your own styling. Check the instruction and six digits, rather than trying to match the colors. The number shown here is an example, not a working sign-in code.
Check the code settings
Save the relevant email templates. To choose email as a sign-in method, open Authentication → Sign In / Providers → Auth Providers → Email. Check Email OTP length and Email OTP expiration. Length is in digits; expiration is in seconds. Use six digits for this guide, and note how long the code is valid. Supabase's passwordless email settings (opens in a new tab) document a default expiry of one hour, but your project's setting is the one your app must follow.
Also note the wait between code requests. Supabase's sending limits (opens in a new tab) document a default of 60 seconds for another request by the same user. Your project may use a different value. You'll give that value to your AI in Step 5.
You now have a sender, a connection, and emails that can show a code. It's time to build the part people use.
Step 04Have your AI add the code sign-in screens
Keep the experience small: an email field, then a code field, then the app. One code field is enough. Let people paste all six digits at once.
Sending the email should open code entry. To sign someone in, the app needs Supabase to accept the code (opens in a new tab) and establish the signed-in state. Supabase calls the information that keeps someone signed in a session.
For the code field, keyboard hints (opens in a new tab) and autocomplete settings (opens in a new tab) can help phones offer a useful input method. They don't guarantee every email app will fill the code for you. Pasting should still work.
This prompt builds the email screen and sends the code through your existing account setup. It opens code entry after a successful send; accepting the code and signing in are the next job:
This prompt connects the code field to Supabase so a valid code can sign the person in. It also handles paste, incorrect codes, and retries while keeping the app's existing sign-in behavior:
Step 05Add resend and change-email options
Put Send another code and Change email beside the code field. The first asks for another email. The second lets the person correct the address without losing their place.
Show a countdown only while another send is unavailable. Use the actual wait you recorded from your project. The countdown helps the person understand the button; Supabase still decides whether a request is allowed.
There's a naming trap worth giving your AI explicitly. For this passwordless flow, Send another code repeats the same code-send operation. Supabase's separate resend operation (opens in a new tab) is for signup confirmation and other email flows. Don't choose it just because the button says “resend.”
When several emails have arrived, use the newest successfully requested code. Clicking a button that fails is not the same thing as receiving a replacement.
This prompt adds working ways to ask for another code or correct the email address. It keeps the wait and messages tied to the current address and tests what happens when a send fails:
Check the retry controls
Your AI should open the finished screen and exercise both controls. The example below shows the parts to look for: the destination email, one code field, a clear sign-in action, and ways to request another code or correct the address. Keep your app's own design.
Step 06Test new and returning users
Try the flow as someone who isn't already signed in. Use a private browser window and a test address you can read. Keep an eye on the sending limits while testing.
These checks cover the experience you just built:
Repeat signup and sign-in on your phone. Open the email, copy the whole code, return to the app, and paste it. Check that the code field keeps any leading zero and that the buttons and messages are easy to use.
You can ask your AI to simulate an expired code or a slow connection to check how the screens respond. Then check actual delivery with a real email.
This prompt has your AI test the complete flow and fix problems within this feature. It checks the screens and retry behavior, then tells you which real inbox or phone checks still need you:
Troubleshooting
Start with what you can see. It usually tells you which part to inspect next.
The email doesn't arrive
Check the address shown in the app, then check spam. If the address is wrong, use Change email.
If the address is right, open Resend's email activity and look for the attempted message. If it appears, inspect its status and any delivery explanation. A recorded send doesn't guarantee it reached the inbox.
If there's no message in Resend, follow Supabase's email troubleshooting (opens in a new tab) to check the saved delivery settings and sender's verified domain. Check the current sending limits too, including Resend's account limits (opens in a new tab). Ask your AI to inspect the error from that failed attempt without copying secret values into its report.
The code is rejected
Use the newest successfully requested code for the address still shown in the app. Check that all six digits were copied, including a leading zero.
If the code has expired, ask for another one when sending is available. If fresh codes keep failing, have your AI check that the app sends the current email and code to Supabase's email-code verification (opens in a new tab). It should also check that the configured code length matches the screen.
The resend button stays unavailable
If the countdown is still running, wait for it to end. If it reaches zero but the button never returns, ask your AI to check the waiting state after errors and timeouts.
If the button works but Supabase refuses another send, the app may have reached a different Supabase sending limit (opens in a new tab). Check the returned error and project settings. Changing the visible countdown won't change the server's limit.
The code is accepted, but sign-in doesn't finish
Ask your AI to follow the steps from accepted verification to your app's existing signed-in state. Check whether a usable session was returned, whether the existing browser and server setup agree on the account, and whether the app returns to the intended page.
If it works until you reload, have your AI inspect the existing signed-in state and cookie handling against Supabase's server-side account setup (opens in a new tab). If it happens after Change email, check that an earlier verification isn't updating the new attempt. This is a job for the account setup already in the app.
Still having trouble?
Pull me into your project with @Vlad, your virtual co-founder. Or, if you'd rather work with the real me, set up a call.
Summary
The experience is simple: enter an email, receive a code, paste it into the app, and sign in. Supabase checks the code. Resend delivers the email. Your app handles the screens and gives people a way to retry or correct an address.
Finish by trying it with a new account, a returning account, and your phone. When those paths work, move on to the next part of your product.

Vladislav Zhirnov
Common questions
Can I keep my existing login options?
Yes. A few simple methods can work well together, such as Google sign-in and one email option. For email, I prefer a code here. Avoid making people choose between several email flows that do the same job. Keep existing methods working while you add and test codes. Check existing-user access and shared email templates before removing anything.
How long should a code stay valid?
Start with the value in your Supabase project and make the email and app agree with it. Supabase's email-code settings (opens in a new tab) document a one-hour default. If you shorten it, give people enough time to receive the email and return to the app. Test that choice on a phone, rather than assuming the shortest possible window is best.
Does Resend replace Supabase?
No. Resend delivers the account emails. Supabase creates and checks the codes and handles the signed-in account. Connecting Resend changes the delivery service; it doesn't replace your app's account setup.
Sources
18 references- Supabase passwordless email (opens in a new tab)supabase.com
- Supabase email templates (opens in a new tab)supabase.com
- Supabase custom SMTP (opens in a new tab)supabase.com
- Supabase verifyOtp (opens in a new tab)supabase.com
- Supabase rate limits (opens in a new tab)supabase.com
- Resend with Supabase SMTP (opens in a new tab)resend.com
- Resend domain setup (opens in a new tab)resend.com
- Resend authentication-email delivery guidance (opens in a new tab)resend.com
Show 10 more references
- MDN autocomplete guidance (opens in a new tab)developer.mozilla.org
- Resend domain guidance (opens in a new tab)resend.com
- Resend's DMARC guidance (opens in a new tab)resend.com
- Resend key setup (opens in a new tab)resend.com
- Resend account limits (opens in a new tab)resend.com
- Supabase's email-flow implementation (opens in a new tab)github.com
- MDN input hints (opens in a new tab)developer.mozilla.org
- Supabase resend reference (opens in a new tab)supabase.com
- Supabase server-side account setup (opens in a new tab)supabase.com
- Cloudflare setup (opens in a new tab)resend.com
Choose your next move